obinstall — the new Obarun installer
Dear Obarun Community,
Obarun has a new installer. It is called obinstall, it is available in [obextra], and it
replaces the historical obarun-install and its companion obarun-install-themes. It offers two
ways to install the system: a graphical wizard that runs in a browser, and a declarative command
line driven by a single TOML file.
The new Obarun ISOs already carry this change. They are built by obinstall itself, they ship it, and they start it for you: pick Install in the boot menu, or open the installer from the live desktop once you are logged in.
The old installer is retired
obarun-install and obarun-install-themes have been removed from the repositories and are no
longer maintained. They served Obarun for years, but the dialog based bash pipeline had reached its
limits: no validation of what the operator typed, no way to replay an installation, and a package
list scattered across several scripts.
Everything they did now lives in a single package, obextra/obinstall.
Two front ends, one result
obinstall ships two binaries built on one library:
obinstall, a local web wizard for the person sitting in front of a live ISO,obinstall-cli, a batch installer driven by a TOML configuration file, for ISO production, continuous integration and automated deployments.
Both run the exact same pipeline, so the two produce strictly equivalent systems. Better still, the
wizard writes its answers to /etc/obarun/obinstall/wizard.toml, and that file is a valid
obinstall-cli --config input. What you configure once by hand can be replayed on a hundred
machines.
The graphical wizard
Run obinstall. It binds 127.0.0.1:7666 and prints a URL carrying a one shot token, which you
open in a browser. On a live ISO with no desktop, an optional kiosk mode starts an X server, a
window manager and a browser for you, so the wizard is simply there when the machine boots.
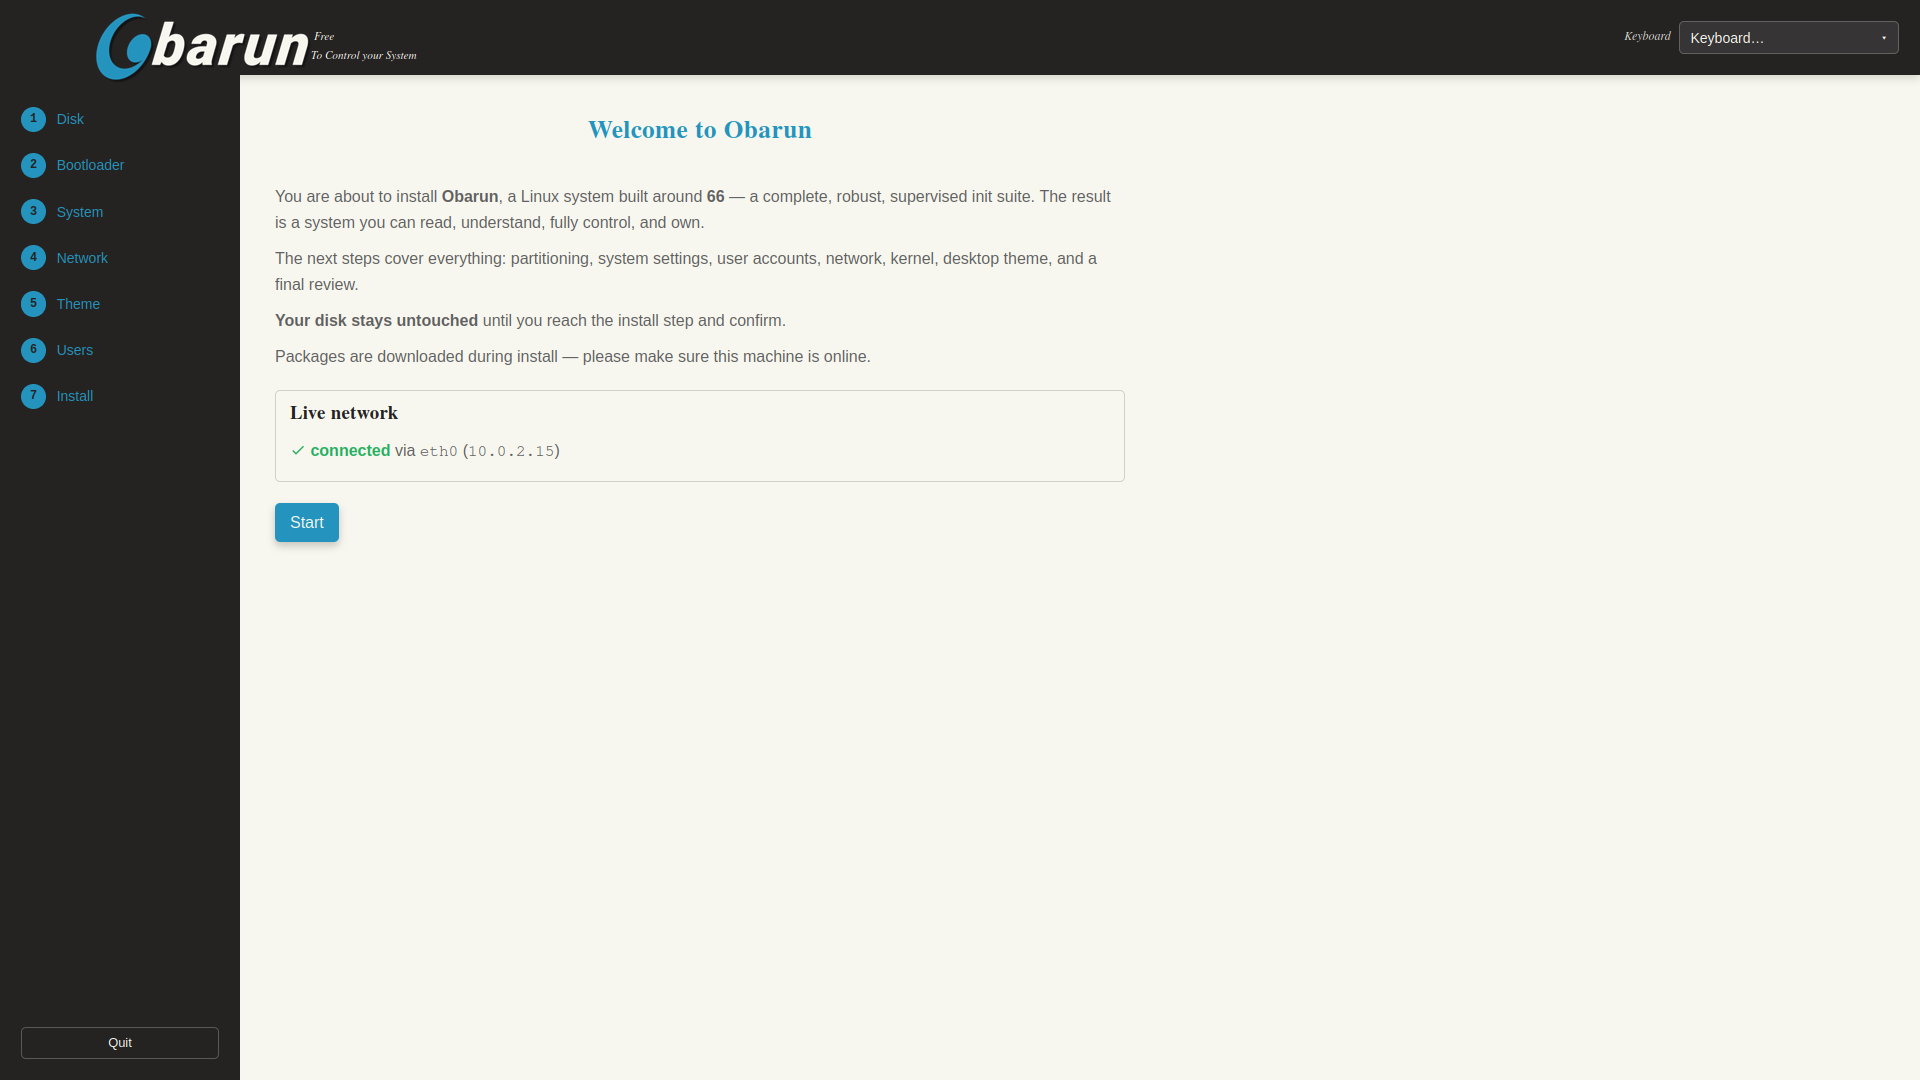
The welcome page checks the live network, sets up Wi-Fi if you need it, and lets you pick your keyboard layout before anything else. Then come seven steps: Disk, Bootloader, System, Network, Theme, Users, Install.
You move freely between steps, backwards as well as forwards, and your choices are saved as you go. Nothing is written to the disk until you confirm at the final step.
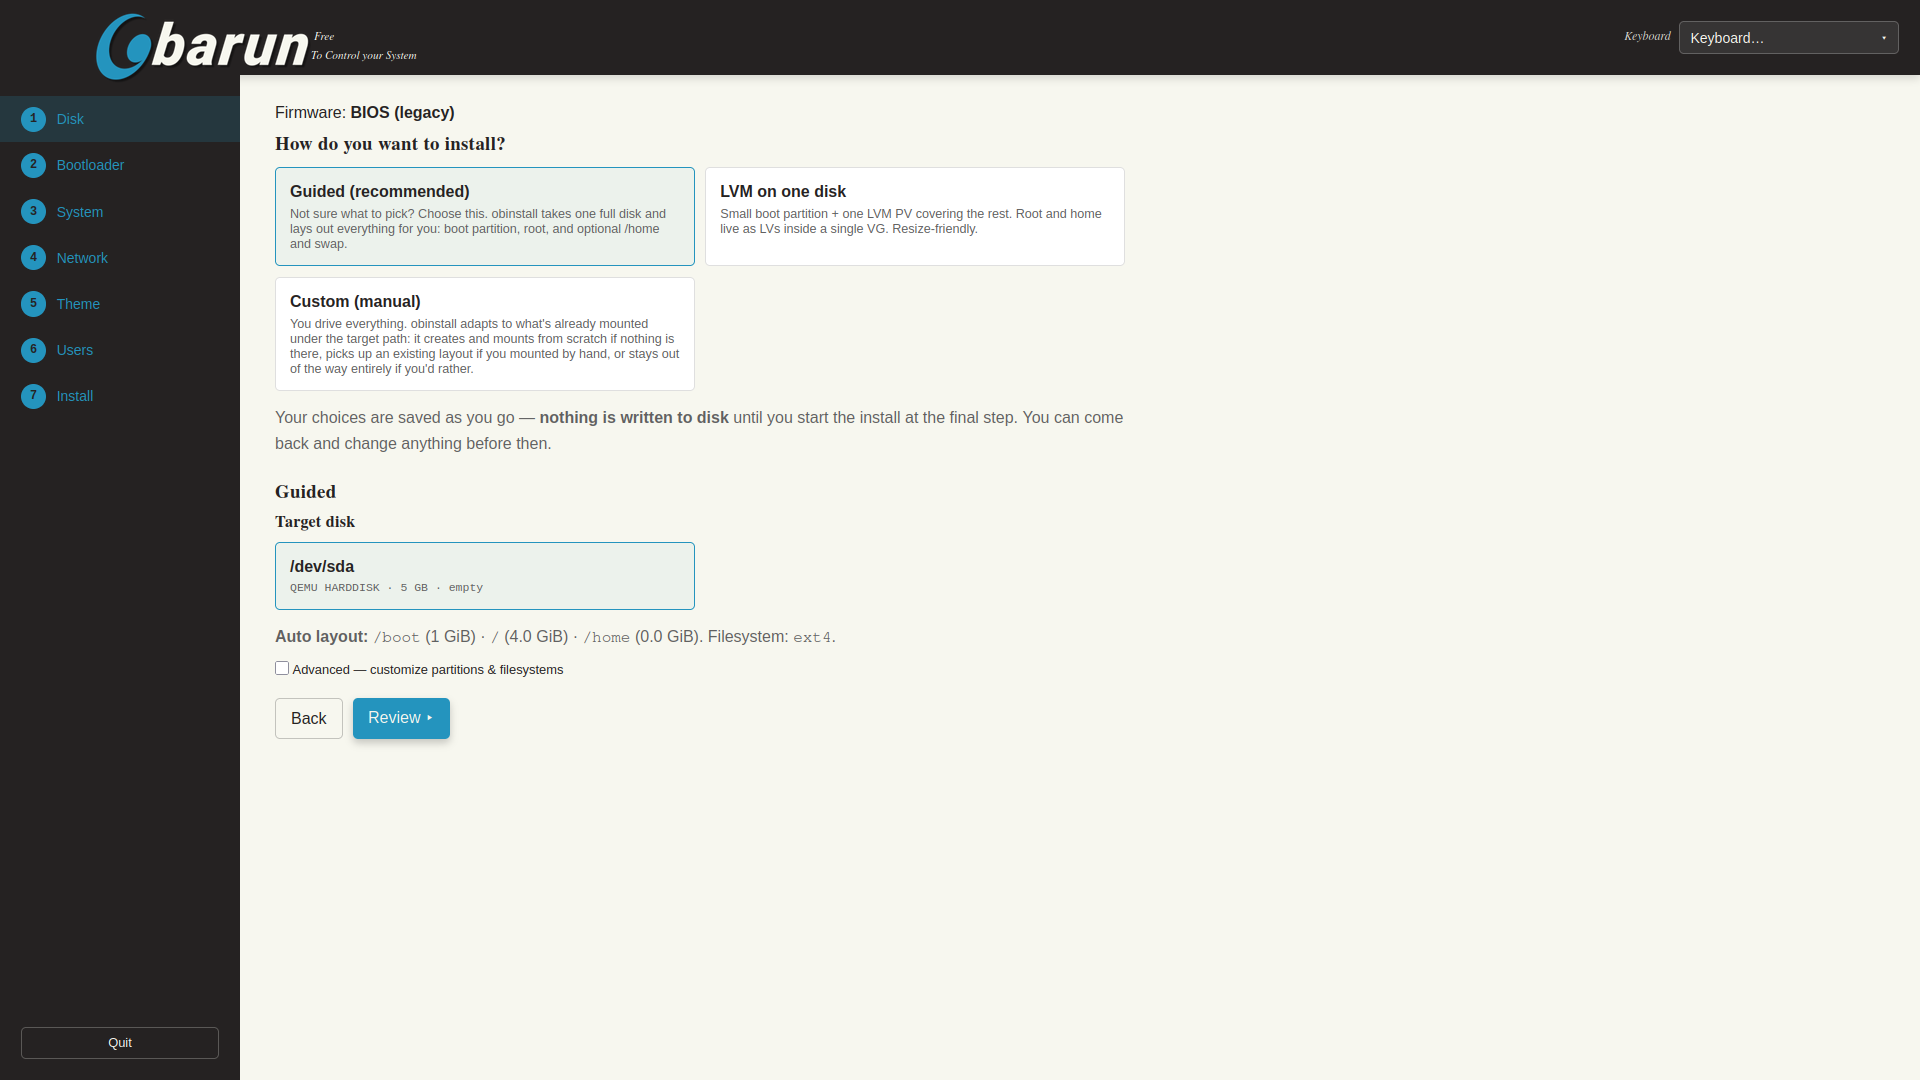
The disk step covers three scenarios:
- Guided, obinstall takes one full disk and lays out a boot partition, root, and optional
/homeand swap, - LVM on one disk, a small boot partition plus one LVM physical volume covering the rest, with root and home as logical volumes,
- Custom, you partition and mount by hand, and obinstall adapts to whatever is already mounted under the target path.
The bootloader step supports syslinux, grub and efistub, and pre-selects the one that fits
your firmware and partition layout.
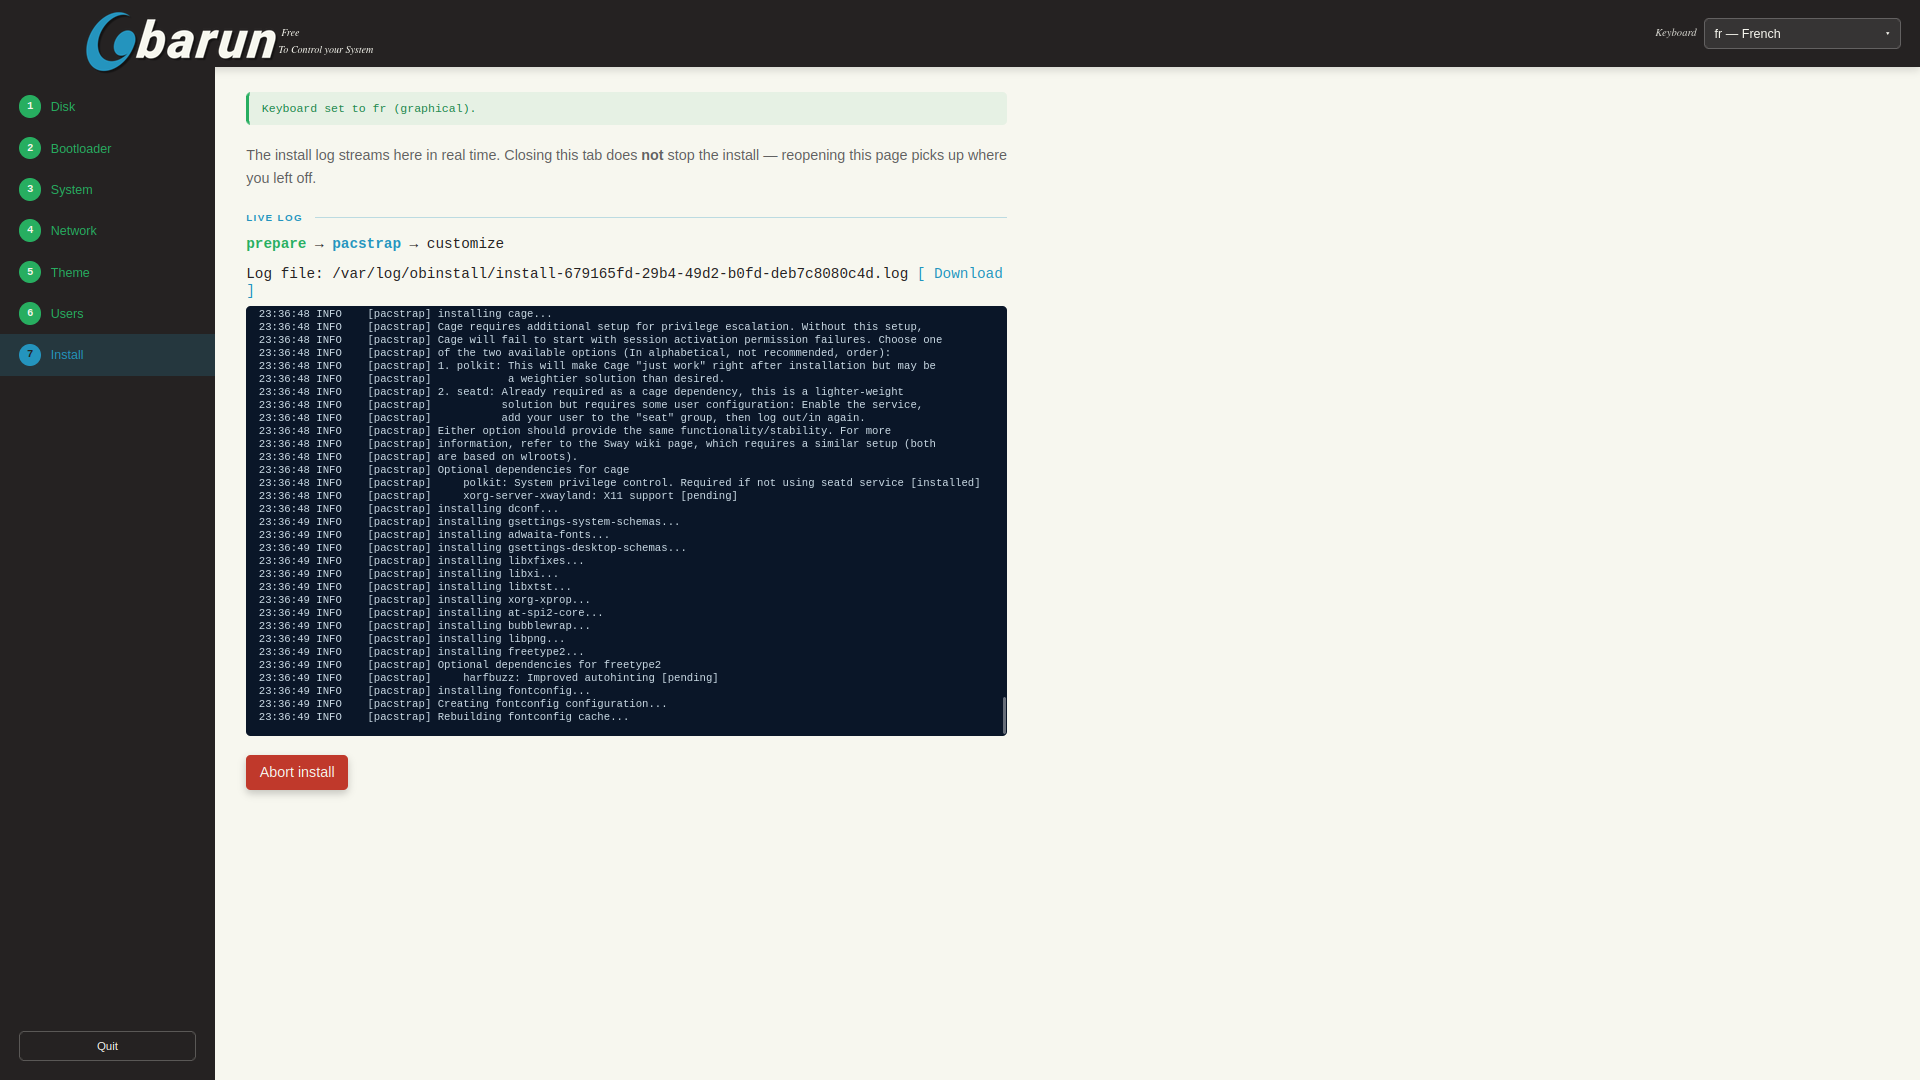
The final step streams the installation log live in the page. Closing the tab does not stop the install, reopening the page picks up where you left off, and the full log file is available for download at any time.
Themes
A theme is a ready made preset: a package list, a set of 66 services to enable, configuration files
to drop into the new system, and a customizeChroot hook that runs inside the target.
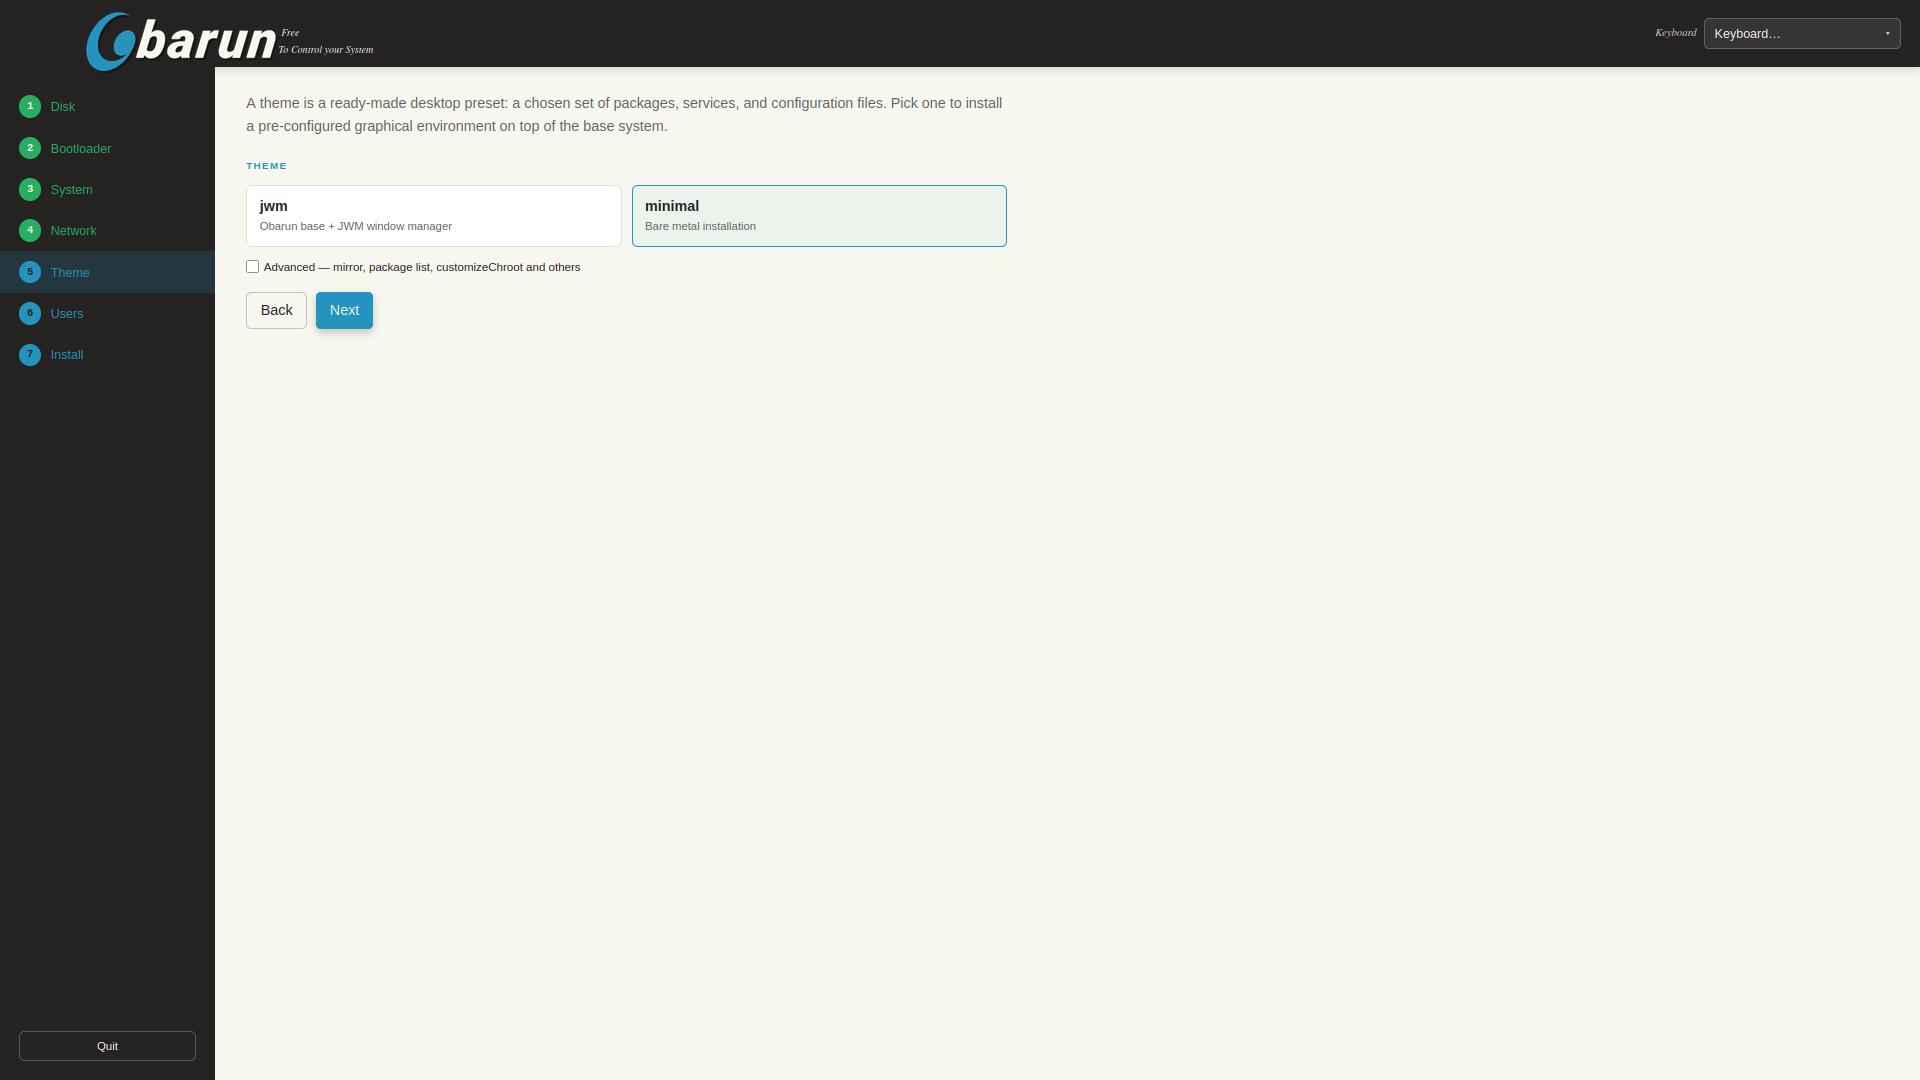
Two themes ship with this release:
- minimal, a bare metal installation with the core system, the recovery tools and the 66 services needed to boot,
- jwm, the same base plus a graphical session built around the JWM window manager.
Writing your own theme is a documented exercise, see docs/theme-authoring.md in the repository.
Services are declared, not scripted: obinstall enables them through a cascade combining the
bootstrap set, the theme manifest and your own additions.
XLibre is the default X server
The graphical theme installs xlibre-server together with the xlibre-input-* and
xlibre-video-* drivers. No Xorg server is pulled in any more.
This follows the move announced in May, when the XLibre packages were promoted from [obcommunity]
to [obextra], see XLibre packages move from [obcommunity] to [obextra].
The installer is where that transition becomes the default: a fresh graphical Obarun install is an
XLibre install.
Installing from the command line
For automated installations, obinstall-cli takes a single file:
obinstall-cli --config install.toml
A minimal install.toml looks like this:
[target]
newroot   = "/mnt"
cache_dir = "/var/cache/pacman/pkg"

[install]
theme = "minimal"

[system]
hostname = "obarun"
locale   = "en_US.UTF-8"
timezone = "Europe/Paris"
Two sub-commands come with it: obinstall-cli validate <config> lints a TOML file before you use
it, and obinstall-cli cleanup unmounts the chroot stack after a failed run.
Note
The command line installs onto a pre-mounted target. Partitioning, mounting and bootloader installation are the operator's responsibility, which is exactly what an ISO build script or a CI job already does. The wizard is the one that drives those steps for you.
What is not covered yet
This first version deliberately leaves a few things out: AUR packages, LUKS encryption, RAID and multi-disk layouts. They are not forgotten, they are simply not part of this release.
Where to find it
The package is obextra/obinstall, the source lives at
git.obarun.org/obdev/obinstall, and it is released under
the ISC license. Bug reports and theme contributions are very welcome.
Thank you for your continued support of Obarun.
Eric Vidal: [email protected]